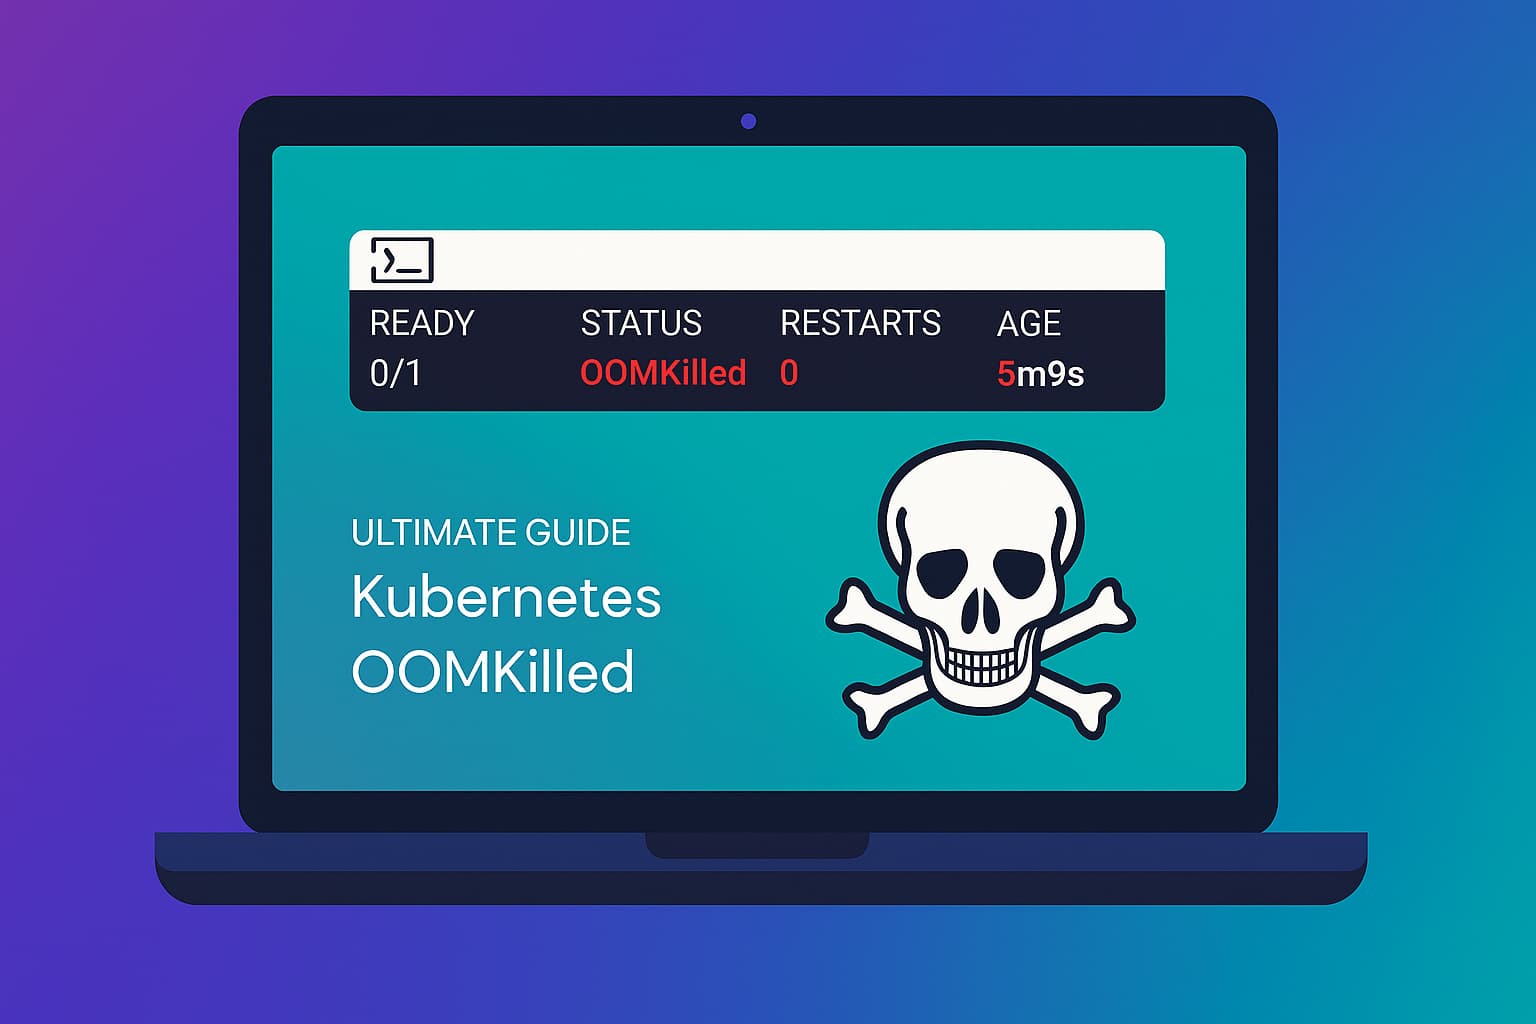
Kubernetes OOMKilled error occurs when a container exceeds its memory limit and is terminated by the kernel’s Out-Of-Memory (OOM) killer. In practice, such failures contribute to the wider reliability challenges in Kubernetes: a recent survey found that 87% of organizations experienced outages in the last year, and 83% said those were Kubernetes-related. For businesses running large-scale microservices, these incidents can cascade into downtime, performance degradation, and revenue loss.
CubeAPM brings Kubernetes-specific visibility that makes OOMKilled errors easier to detect and resolve. It tracks pod and node memory metrics in real time, correlates OOMKilled events with deployments, autoscaling actions, and node pressure, and captures container logs to confirm when the kernel OOM killer terminated a process.
In this guide, we’ll break down what the OOMKilled error means, the top reasons it occurs, proven fixes with step-by-step commands, and how to set up monitoring and alerting with CubeAPM to prevent future incidents.
Table of Contents
ToggleWhat is Kubernetes OOMKilled Error

An OOMKilled state in Kubernetes means a container was terminated because it exceeded the memory resources assigned to it. When this happens, the Linux kernel invokes its Out-Of-Memory (OOM) killer, which forcefully ends the process to keep the node itself from crashing. Kubernetes then marks the pod’s container with the “OOMKilled” reason and typically attempts to restart it.
From a technical perspective, this event is tied to exit code 137, which indicates termination due to a SIGKILL signal. Logs may show messages like “Killed process <pid> (java)” in the node’s dmesg, confirming that the OOM killer acted.
OOMKilled errors often point to deeper issues:
- Improper memory requests and limits in the pod spec, causing workloads to run out of space.
- Memory leaks in the application code, which slowly consume all available memory.
- Unexpected load spikes from traffic surges or batch jobs that temporarily exceed allocated resources.
In production systems, repeated OOMKilled events can degrade reliability by forcing constant pod restarts, breaking connections, and even triggering cascading failures in distributed applications. For stateful services like databases or caching layers, an OOMKilled container can also lead to data inconsistency or lost transactions.
Why OOMKilled in Kubernetes Pods Happens
1. Misconfigured Memory Limits
If a container’s memory limit is set too low, normal workload operations may exceed it and trigger the OOM killer. For example, a Java application often requires more heap than expected, leading to frequent OOMKilled events.
Quick check:
kubectl describe pod <pod-name>
Look for the container’s Limits section under Resources to confirm if the memory allocation is too restrictive.
2. Memory Leaks in the Application
Applications that fail to release memory properly will slowly consume all available memory. This is common in long-running services where objects pile up in memory, causing the container to be killed even if limits are generous.
Quick check:
kubectl top pod <pod-name>
Watch memory usage grow continuously without dropping, even when traffic subsides.
3. Sudden Traffic Spikes or Heavy Workloads
Batch jobs, large queries, or sudden increases in request volume can cause containers to momentarily exceed memory limits. Even well-tuned applications may face OOMKilled events if scaling rules don’t react fast enough.
Quick check:
kubectl get hpa
Verify if the Horizontal Pod Autoscaler (HPA) is configured to scale based on memory metrics, not just CPU.
4. Node-Level Resource Pressure
Sometimes the container’s limits are fine, but the node itself is under pressure because other pods are competing for memory. In this case, the kubelet reports OOMKilled even if the workload was behaving normally.
Quick check:
kubectl describe node <node-name>
Check the Allocatable vs Used memory and review which pods are consuming most resources.
How to Fix OOMKilled in Kubernetes Pods
Fixing OOMKilled errors requires validating each possible failure point and adjusting workloads accordingly. Below are the most common fixes with quick checks and commands:
1. Adjust Memory Requests and Limits
If limits are too low, Kubernetes will repeatedly kill the container. Increase them based on actual workload usage.
Quick check:
kubectl describe pod <pod-name>
Look at the Limits section and compare with observed usage from kubectl top pod.
Fix:
kubectl set resources deployment <deploy-name> -n <namespace> --containers=<container-name> --limits=memory=1Gi --requests=memory=512Mi
2. Identify and Fix Memory Leaks
Use application profiling or tracing to detect memory leaks in code. A container with steadily growing memory usage likely has a leak.
Quick check:
kubectl top pod <pod-name>
If memory keeps rising even when load is stable, investigate the app.
Fix: Patch the application, upgrade libraries, or containerize with updated runtimes (e.g., JVM heap configs for Java apps).
3. Enable Autoscaling Based on Memory
Sometimes spikes are legitimate workload bursts. Ensure the Horizontal Pod Autoscaler (HPA) scales on memory usage, not just CPU.
Quick check:
kubectl get hpa
Fix:
kubectl autoscale deployment <deploy-name> --min=2 --max=10 --cpu-percent=70
Then extend it with custom metrics to include memory.
4. Spread Pods Across Nodes
If OOMKilled happens because a node is overloaded, reschedule workloads. Use taints, tolerations, or pod anti-affinity to balance memory-heavy pods.
Fix:
kubectl cordon <node-name>

kubectl drain <node-name> --ignore-daemonsets --delete-local-data
Then redeploy pods to healthier nodes.
5. Monitor Kernel OOM Logs
Sometimes limits are fine but the kernel kills a process due to overall node stress.
Quick check:
kubectl logs <pod-name> -c <container> --previous
Look for Killed process <pid> in system logs.
Fix: Adjust node sizing, increase cluster resources, or isolate heavy workloads.
Monitoring OOMKilled in Kubernetes Pods with CubeAPM
When a Pod is terminated with OOMKilled, the fastest way to root cause is by correlating four signal streams: Kubernetes Events (e.g., OOMKilled, Evicted), pod & node memory metrics (requests, limits, usage), container logs (Killed process <pid> messages from the OOM killer), and deployment rollouts or scaling actions. CubeAPM ingests all of these via the OpenTelemetry Collector and stitches them into timelines so you can see what drove the container over its limit—leak, spike, or node pressure.
Step 1 — Install CubeAPM (Helm)
Install (or upgrade) CubeAPM with your values file (endpoint, auth, retention, etc.):
helm install cubeapm cubeapm/cubeapm -f values.yaml
(Upgrade if already installed:)
helm upgrade cubeapm cubeapm/cubeapm -f values.yaml
Step 2 — Deploy the OpenTelemetry Collector (DaemonSet + Deployment)
Run the Collector both as a DaemonSet (for node-level stats, kubelet scraping, and events) and a Deployment (for central pipelines).
helm install otel-collector-daemonset open-telemetry/opentelemetry-collector -f otel-collector-daemonset.yaml

helm install otel-collector-deployment open-telemetry/opentelemetry-collector -f otel-collector-deployment.yaml
Step 3 — Collector Configs Focused on OOMKilled
Keep configs separate for the DaemonSet and central Deployment.
3a) DaemonSet config (otel-collector-daemonset.yaml)
Key idea: collect kubelet stats (memory), Kubernetes events (OOMKilled, Evicted), and kube-state-metrics if present.
receivers:

  k8s_events: {}

  kubeletstats:

    collection_interval: 30s

    auth_type: serviceAccount

    endpoint: https://${NODE_NAME}:10250

    insecure_skip_verify: true

  prometheus:

    config:

      scrape_configs:

        - job_name: "kube-state-metrics"

          scrape_interval: 30s

          static_configs:

            - targets: ["kube-state-metrics.kube-system.svc.cluster.local:8080"]


processors:

  batch: {}


exporters:

  otlp:

    endpoint: ${CUBEAPM_OTLP_ENDPOINT}

    headers:

      x-api-key: ${CUBEAPM_API_KEY}


service:

  pipelines:

    metrics:

      receivers: [kubeletstats, prometheus]

      processors: [batch]

      exporters: [otlp]

    logs:

      receivers: [k8s_events]

      processors: [batch]

      exporters: [otlp]
- k8s_events captures OOMKilled and Evicted events from kubelet.
- kubeletstats surfaces per-pod memory usage vs. limits.
- prometheus (optional) scrapes kube-state-metrics for restart counts and pod phase.
3b) Central Deployment config (otel-collector-deployment.yaml)
Key idea: receive OTLP, enrich with metadata, and export to CubeAPM.
receivers:

  otlp:

    protocols:

      grpc:

      http:


processors:

  resource:

    attributes:

      - key: cube.env

        value: production

        action: upsert

  batch: {}


exporters:

  otlp:

    endpoint: ${CUBEAPM_OTLP_ENDPOINT}

    headers:

      x-api-key: ${CUBEAPM_API_KEY}


service:

  pipelines:

    metrics:

      receivers: [otlp]

      processors: [resource, batch]

      exporters: [otlp]

    logs:

      receivers: [otlp]

      processors: [resource, batch]

      exporters: [otlp]

    traces:

      receivers: [otlp]

      processors: [resource, batch]

      exporters: [otlp]
Set CUBEAPM_OTLP_ENDPOINT and CUBEAPM_API_KEY via Helm values or Kubernetes Secrets.
Step 4 — One-Line Helm Installs for kube-state-metrics (if missing)
helm repo add prometheus-community https://prometheus-community.github.io/helm-charts && helm repo update && helm install kube-state-metrics prometheus-community/kube-state-metrics -n kube-system --create-namespace
Step 5 — Verification (What You Should See in CubeAPM)
After a few minutes of ingestion, validate that OOMKilled signals are flowing in:
- Events timeline: OOMKilled and Evicted events aligned with workload or node pressure.
- Memory graphs: Pods showing usage climbing past their configured limits.
- Restart counts: From kube-state-metrics, affected pods restarting with reason=OOMKilled.
- Logs: Kernel messages like “Killed process <pid> due to out-of-memory”.
- Rollout context: If triggered by a deployment, ReplicaSet changes appear in the same timeline.
Example Alert Rules for OOMKilled in Kubernetes Pods
1. Pods Restarting Due to OOMKilled
Repeated restarts are the clearest sign of a workload that keeps breaching memory limits. Tracking restarts over a short window helps teams intervene before services spiral into instability.
increase(kube_pod_container_status_restarts_total{reason="OOMKilled"}[5m]) > 3
2. Pods Nearing Memory Limits
Instead of waiting for a crash, it’s better to alert when a container’s memory usage approaches its configured limit. This gives engineers time to scale, optimize, or adjust limits before the kernel kills the process.
(container_memory_usage_bytes / container_spec_memory_limit_bytes) > 0.9
3. Nodes Under Memory Pressure
OOMKilled can also be triggered at the node level when memory is exhausted across multiple pods. This rule alerts when the kubelet reports MemoryPressure, signaling that the entire node is at risk.
kube_node_status_condition{condition="MemoryPressure",status="true"} == 1
4. High Cluster-Wide OOMKilled Events
A single OOMKilled may not warrant escalation, but a spike across many pods in a short time window usually means misconfigured workloads or bad deployments. This alert helps catch widespread failures early.
increase(kube_pod_container_status_terminated_reason{reason="OOMKilled"}[10m]) > 10Conclusion
OOMKilled errors are one of the most disruptive issues in Kubernetes, as they silently restart containers when memory usage exceeds defined limits. Left unchecked, they can break user sessions, cause data loss in stateful workloads, and trigger cascading outages across clusters.
The key to preventing them lies in a mix of right-sizing memory, fixing leaks in application code, and scaling workloads effectively. But manual troubleshooting with kubectl commands is not enough when running dozens or hundreds of services in production.
With CubeAPM, teams gain end-to-end visibility into pod memory metrics, OOMKilled events, and node pressure. By correlating logs, traces, and events in one place, CubeAPM helps engineers pinpoint root causes faster and stop repeat crashes. Start monitoring OOMKilled errors today with CubeAPM to keep your Kubernetes workloads stable, resilient, and cost-efficient.


